
So, I’ll admit to being a bit of a zealot when it comes to icons in Dynamics 365 model-driven apps. For years I’ve looked down my nose at app customizers who created custom entities tables that were part of the site map (a/k/a navigation) and left the default icon on them. That’s just bourgeois, right?
Well, then recently I self-discovered that I’ve been pretty much pot-calling-the-kettle-black when I look at all the custom MDA’s I’ve created and left the default icon on them. So, I began turning over a new leaf and branding my MDA’s and here’s how to quickly and easily do it in case you haven’t before.
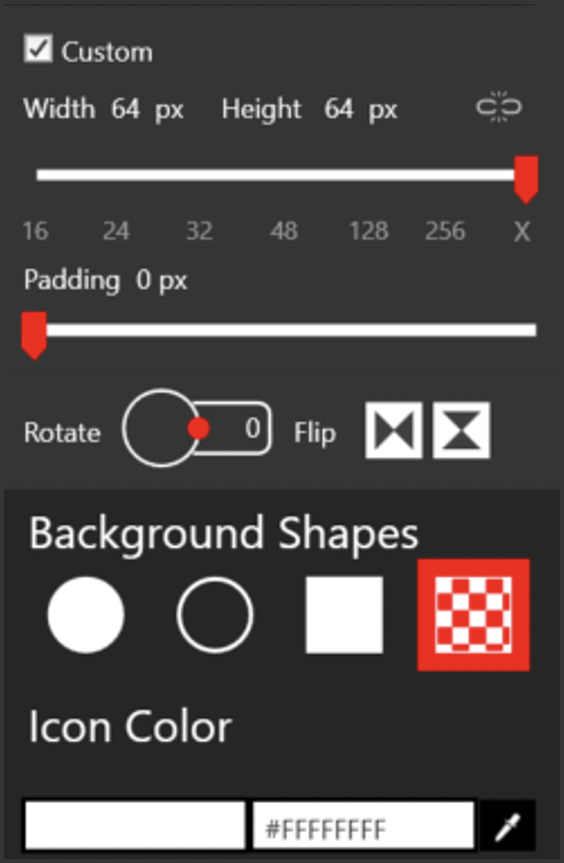
The first step is to create a new web resource with your icon (or logo). I use Metro Studio by Syncfusion as many D365 power user/admin types do in case I need an icon. In this case, I’m going to utilize a logo image file. The area typically covered by the Microsoft icons in the app tiles is a 64-pixel square, so I’m standardizing on that size for simplicity.
If you’re using the Metro Studio settings, this is what to use. You can make it a different color than white if you want but the blue background needs to be considered.
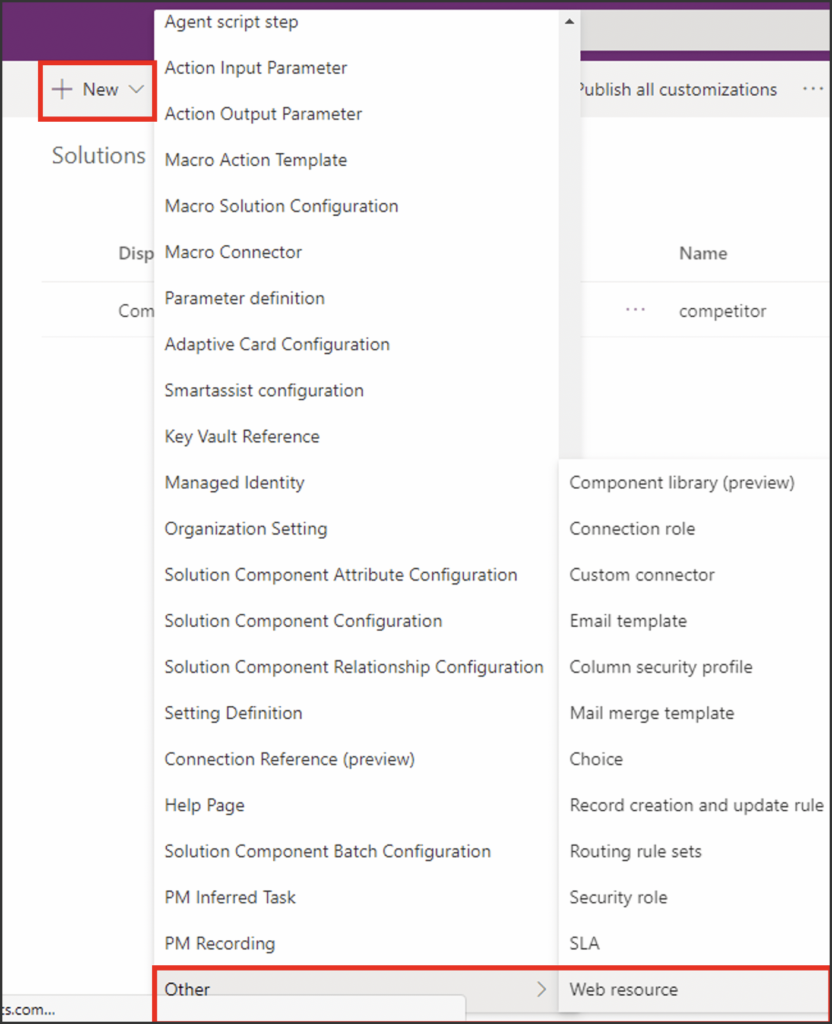
From within your solution in the maker portal click +New and add a web resource.
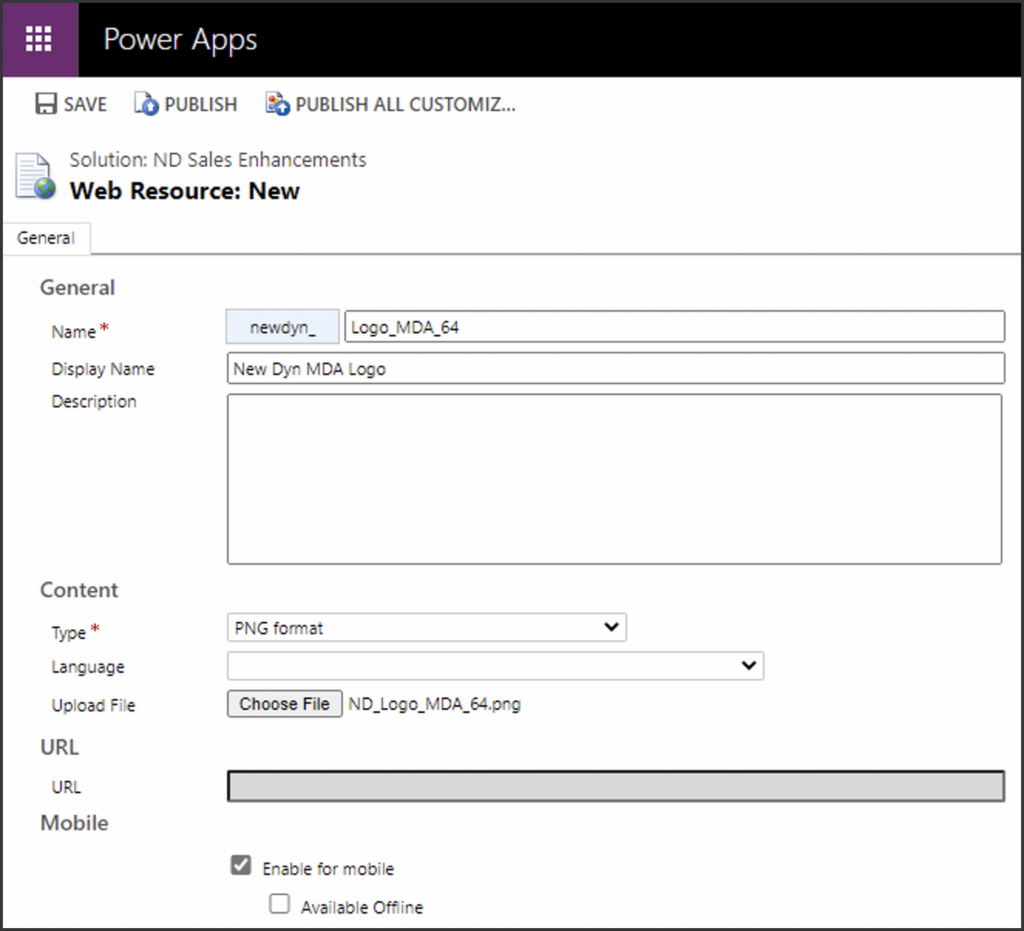
Populate the web resource image record and save it.
Now open your MDA in the app designer and click on properties on the right-hand panel. Unselect the ‘Use Default Image checkbox and look up your new image (web resource) that you’ve loaded. Hint: it uses the display name of the record.
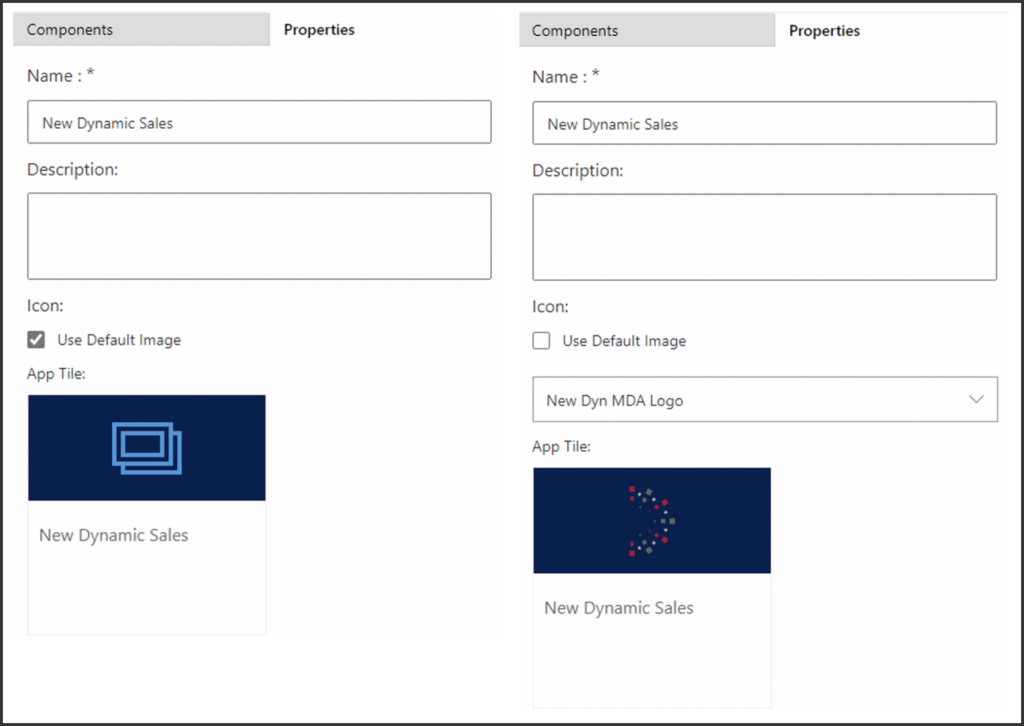
Save and Publish the app and you’re done.
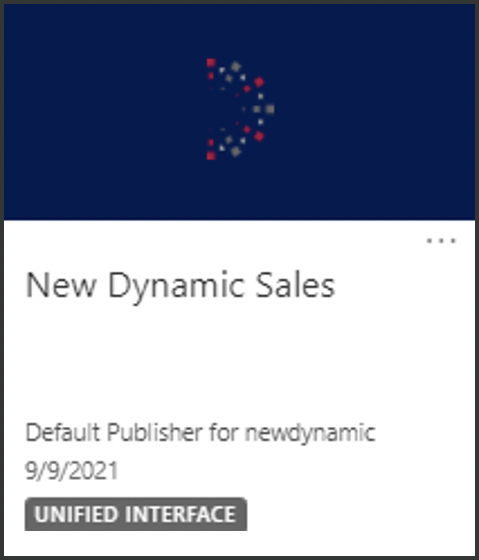
This simple task gives custom model-driven apps the custom look they deserve.
Mike Springer is a Dynamics 365 enthusiast that has been providing guidance to clients for over 15 years. As a Senior Dynamics 365 Consultant for New Dynamic, Mike is dedicated to helping companies drive revenue and reduce the cost of sales through insightful and collaborative Dynamics 365 Sales solutions.


